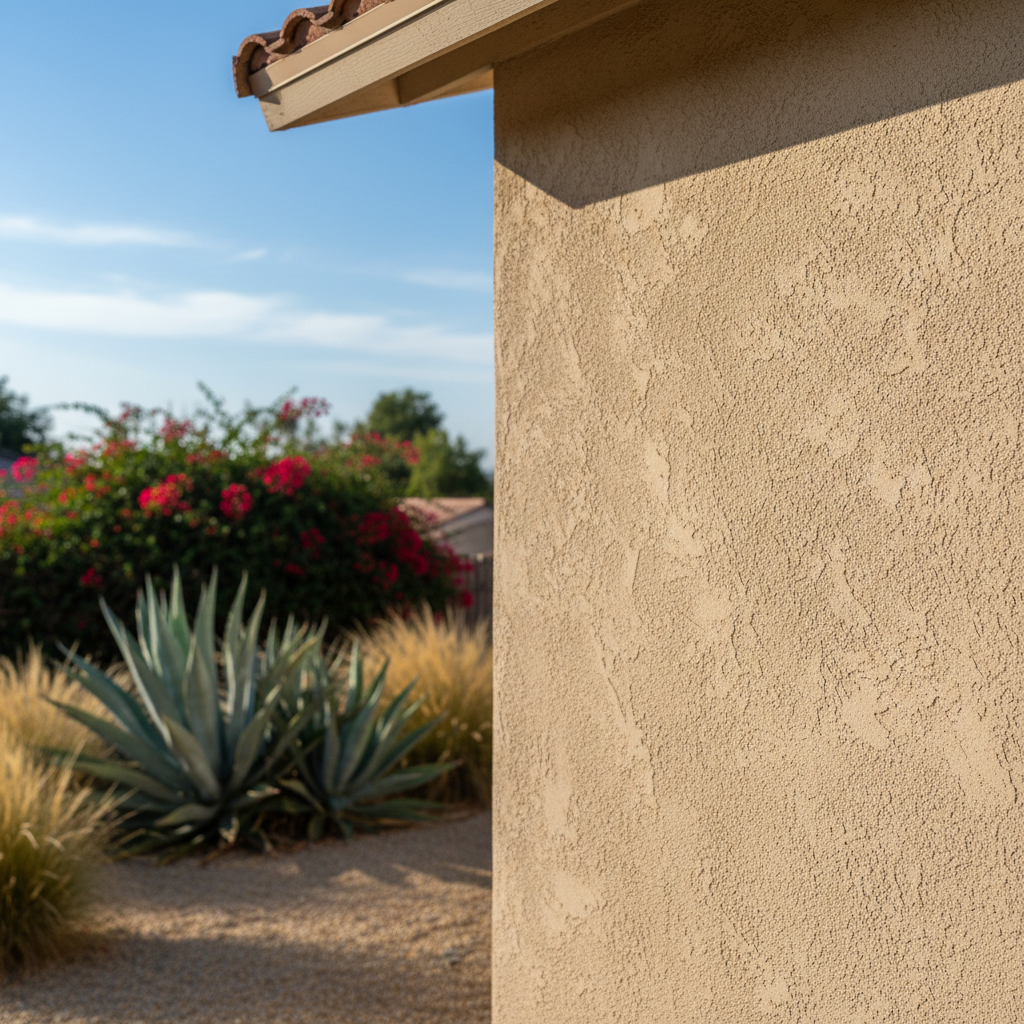
So, you're looking at your home and thinking about stucco. Maybe it's just a small patch job, or perhaps you're dreaming bigger—like a whole new look for the entire house. Either way, you've probably got questions about what you can realistically do yourself and when you absolutely need to call in a pro. Let's dig into it.
Before You Even Think About Stucco: The Prep Work
Before any stucco even touches your walls, there's some really important stuff you need to sort out. This isn't just about slapping on some material; it's about protecting your home for years to come. And honestly, a lot of this prep work is exactly where homeowners can run into trouble if they don't really know what they're doing.
First things first, check out the surface you're working with. Is it wood siding? Masonry? Is there old stucco that's crumbling? You need a clean, solid base. If you're dealing with old, loose stucco, you might be able to chip away small, clearly detached pieces yourself. But if you see widespread cracking, bulging, or water damage, that's a huge red flag. You're probably looking at a bigger problem, maybe even structural, and that's definitely a job for the pros. They'll know how to take off the old material without wrecking what's underneath, and how to find and fix any hidden issues.
Then there's the waterproofing. This is HUGE, especially here in National City where we get those heavy winter rains. You need a proper weather-resistive barrier (WRB) installed. This usually means a house wrap or building paper. For a small, non-critical spot like a shed or a tiny patch, you might be able to handle this yourself if you're super careful about overlapping and flashing. But for your actual home's exterior, especially around windows, doors, and anything poking through the wall, it gets complicated. Bad flashing is one of the main reasons stucco fails and lets water in. Trust me, you do not want to mess this up. A professional will make sure everything overlaps correctly, is taped properly, and integrates with all openings to create a watertight envelope. This isn't the place to cut corners, folks.
Another thing to think about is the lath. That's the metal mesh or wire that the stucco sticks to. For a tiny patch, you might be able to cut and attach a small piece of lath. But for anything bigger, getting the lath perfectly flat, securely fastened, and properly overlapped is essential for the stucco's strength and how long it lasts. Plus, different kinds of lath are used for different jobs. If you're not sure, don't guess.
During the Stucco Application: When to DIY, When to Call National City Stucco & Plastering
Okay, so your surface is prepped. Now for the actual stucco. This is where the DIY line gets even blurrier, wouldn't you say?
Small Patch Jobs: If you have a small crack or a minor chip—say, smaller than a dinner plate—and it's not a structural problem, you can probably tackle this yourself. You'll need to clean the area, put on a bonding agent, and then carefully apply a pre-mixed stucco patch. Follow the instructions on the bag exactly. The tricky part here is matching the texture and color, which can be surprisingly difficult. Try practicing on a scrap piece first if you can.
Larger Repairs or New Applications: This is where I'd really recommend calling in the experts. Stucco goes on in multiple coats – scratch, brown, and finish. Each coat has a specific thickness, curing time, and way it needs to be applied. Getting the mix ratios just right, putting it on evenly, hitting the correct thickness, and then texturing it consistently across a big area is a real skill. It's not just about making it stick; it's about making it look good and perform correctly for decades.
Think about the weather too. Putting stucco on a super hot, windy day, which we definitely get here in National City, can make it dry too fast and crack. A pro knows how to handle these conditions, maybe by misting the wall or tweaking the mix. They also have the right tools – hawk and trowel, plaster guns, scaffolding – stuff most homeowners just don't have lying around.
And let's not forget safety. Working on ladders or scaffolding, especially when you're lugging heavy materials, isn't something to take lightly. A professional crew is trained in safety protocols and has the right equipment to work efficiently and securely.
After the Stucco Project: Maintenance and What to Watch For
Once the stucco is on and cured, your job isn't entirely finished. Stucco is tough, but it's not maintenance-free. This is where you, the homeowner, can really shine.
- Keep it Clean: Every so often, wash your stucco with a garden hose and a soft brush. For tougher spots, a mild detergent can work wonders. Just avoid high-pressure washers, as they can damage the surface, especially on older or softer stucco.
- Watch for Cracks: Small hairline cracks are pretty normal over time as a house settles. You can usually fill these yourself with an elastomeric caulk made for stucco. If you see bigger cracks, spiderwebbing, or cracks that seem to be growing, that's a sign of a potential underlying issue. Don't ignore those.
- Check for Water Intrusion: After a heavy rain, take a walk around your house. Look for dark spots or streaks below windows, near the foundation, or around pipes. These could mean water is getting behind the stucco. Catching these early can save you a lot of headache and money later on.
- Painting: If you decide to paint your stucco, make sure you use a high-quality, breathable paint specifically designed for masonry or stucco. Don't use standard house paint, as it can trap moisture. This is a DIY job many homeowners successfully tackle, but proper prep (cleaning, repairing cracks) is still key.
Ultimately, while you can handle small repairs and ongoing maintenance, for anything beyond a minor patch or cleaning, you're usually better off bringing in a reputable company like National City Stucco & Plastering. We've seen too many DIY jobs that end up costing more to fix than if the homeowner had just called us in the first place. Your home is a big investment; treat it right.